Friday, December 31, 2010

Christmas

I figured I'd better post about Christmas before New Year's. :-)

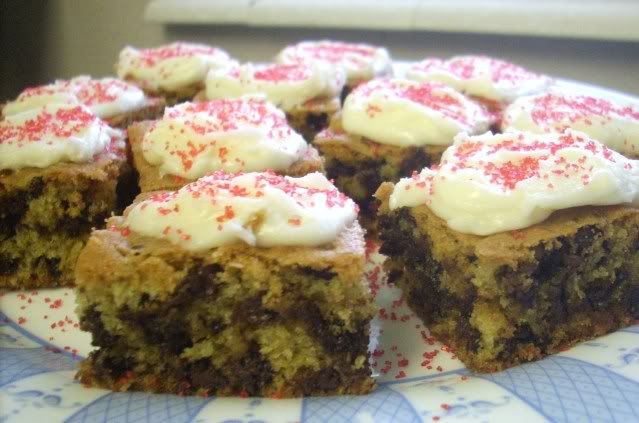
We had a nice, simple Christmas this year. On Christmas Eve, the kids helped me to make cookie bars to leave for Santa.


Zaylee was very excited about the prospect of getting a magnifying glass for Christmas - it was the one thing she put on her Christmas list. She even left her list out under the tree to make sure that Santa saw it and left her exactly what she wanted.

After I put the kids to bed, Santa paid a visit and left some nice gifts.


The kids were so excited to come upstairs on Christmas morning and see their treasures! I don't have any pictures of the fun unwrapping that ensued, I was busy enjoying the looks on the kids' faces as they opened their gifts. That's my favorite part. But here's some pictures of the kids enjoying their gifts.

Zaylee enjoying her magnifying glass
Playing with Thomas' train set
New hat for Zaylee
New hat for Audrey
New hat for Thomas
Michelle made some adorable bath puppets for the kids, and they have been having a lot of fun with them at bath time.


All in all, it was a fun Christmas, and we all have been enjoying the gifts that we received.

Tuesday, December 21, 2010

HomeSpun Threads - Free Patterns!

As has already been posted on both Michelle's blog and Melinda's blog, Aimee of HomeSpun Threads is giving away the patterns in her shop, for free! Lots of cute stuff like baby shoes, bibs, bags and backpacks. Check out the fun patterns at HomeSpun Threads.

Monday, December 20, 2010

The Magic of Cupcakes

Audrey has finally begun to stand all by herself. Jeff is giving her little pieces of banana cupcake, and Audrey decided that she wanted some in both hands, and therefore had to let go of the coffee table. In the process she was so distracted by having cupcake in her hands that she forgot to sit down. She ended up standing for quite a while before getting shaky and having to finally sit down.

Yay for cupcakes. :-)

Saturday, December 11, 2010

Mini Matryoshka Softies - Tutorial

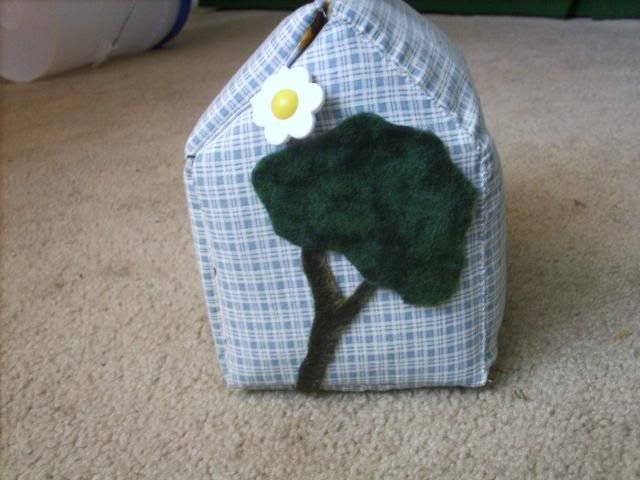
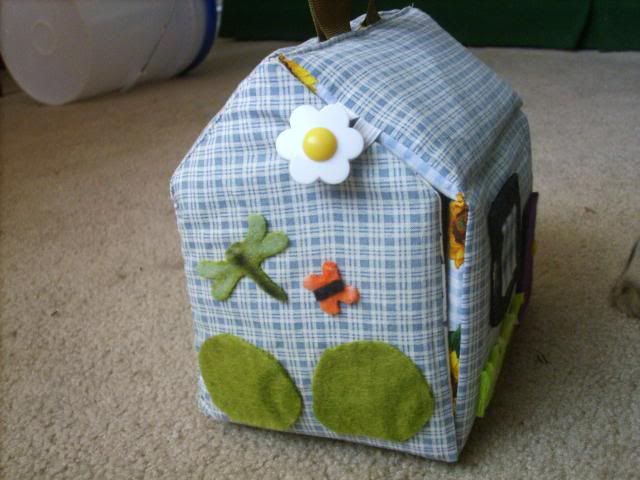
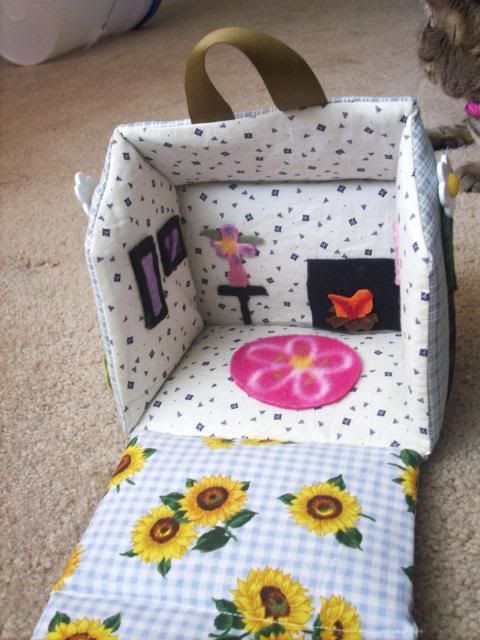
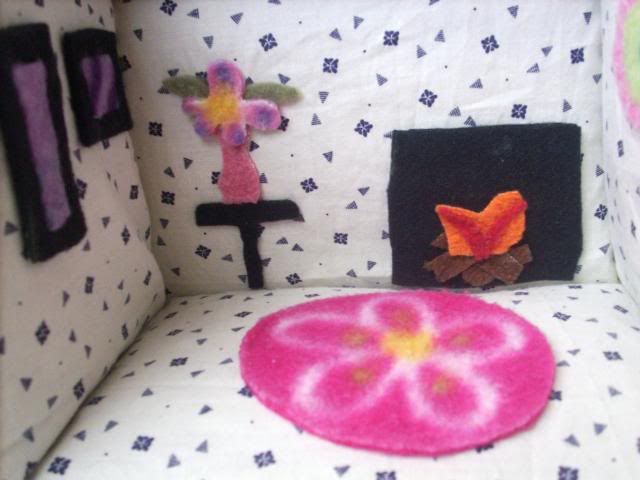
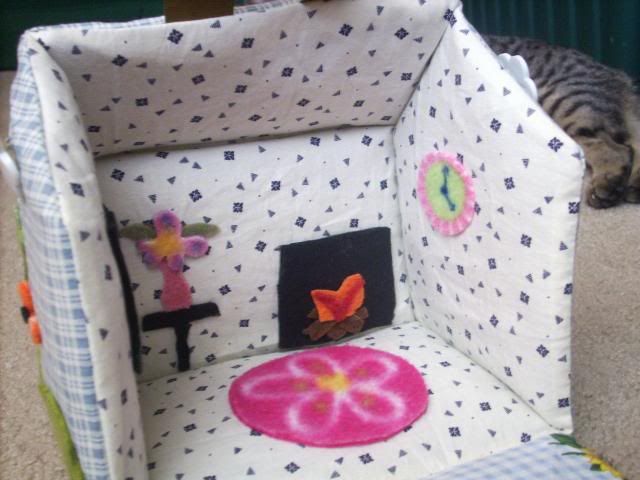
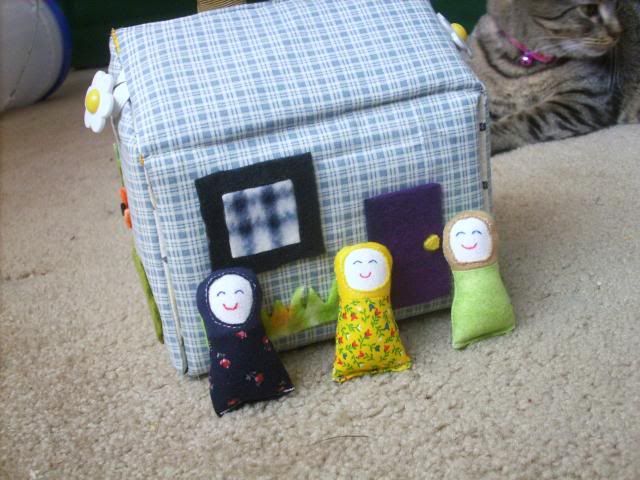
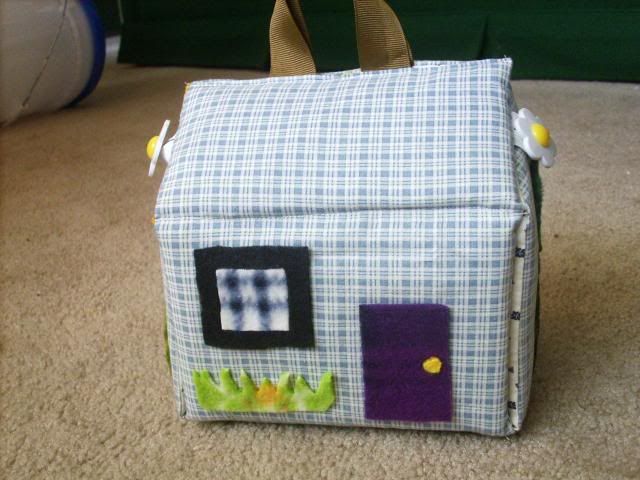
I made a cute little fabric dollhouse for Zaylee for Christmas (used this tutorial from UK lass in US), and needed some little dolls to go with it. I originally planned on making wooden spool dolls, but Wal-Mart didn't have wooden spools, and I was too impatient to try anywhere else. So I decided to go a different route.
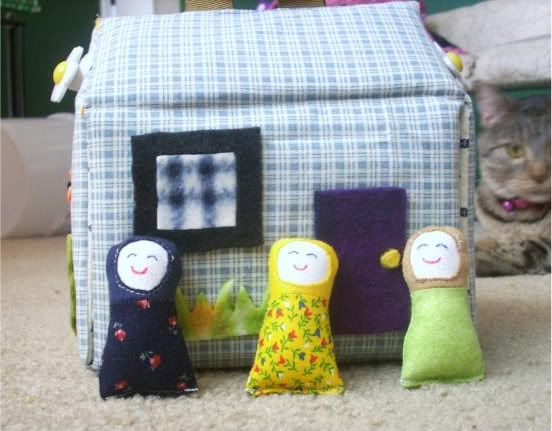

I created these cute little soft dolls that resemble Russian matryoshka dolls. They're so little and cute, only about 3 inches tall. They fit perfectly in the little dollhouse.

And I'm going to show you how to make them!

You'll need:
Pattern pieces
Main fabric - 1 6x4" piece (quilting cotton with a fun pattern)
Coordinating fabric for the head kerchief - 1 3x3" piece (knit so the edge around the face won't fray)
Fabric for face - 1 3x3" piece (flannel or quilting cotton)
Small amount of poly-fill
Markers to draw face
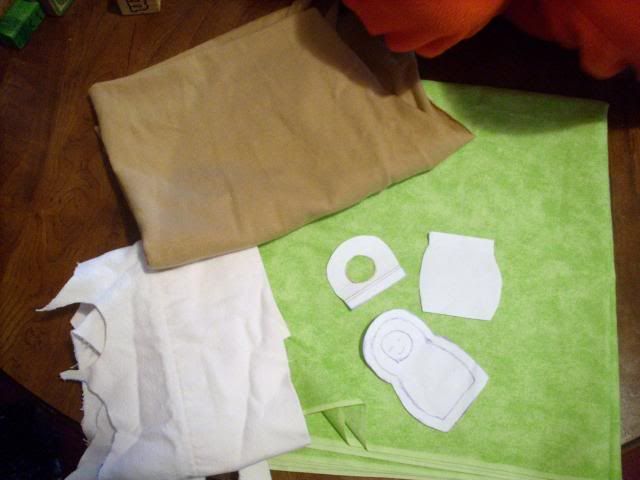
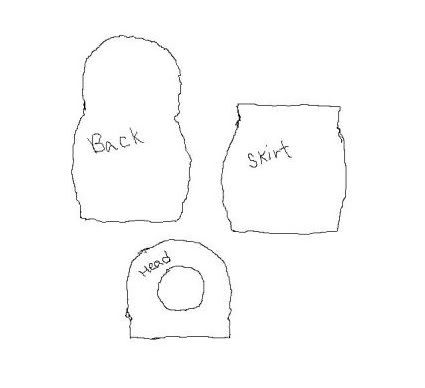
The hardest part about this will be the pattern pieces, I'm afraid. I'm not tech-savvy enough to make a printable page with the pattern pieces. So maybe just freehand it? Anyway, this is what my pieces look like (I couldn't even scan them, I held them up to the screen and traced them). The back piece is 3 3/8 inches tall, and 2 1/4 inches wide at its widest. Skirt is 2 1/4 inches tall and 2 1/4 inches wide. Head is 1 3/4 inches tall and 1 7/8 inches wide. The hole in the head piece is 3/4 inch diameter, with the top of the hole 1/2 inch from the top of the head piece.

Clear as mud? Okay, let's get started!

Cut one back piece and one skirt piece from the main fabric.
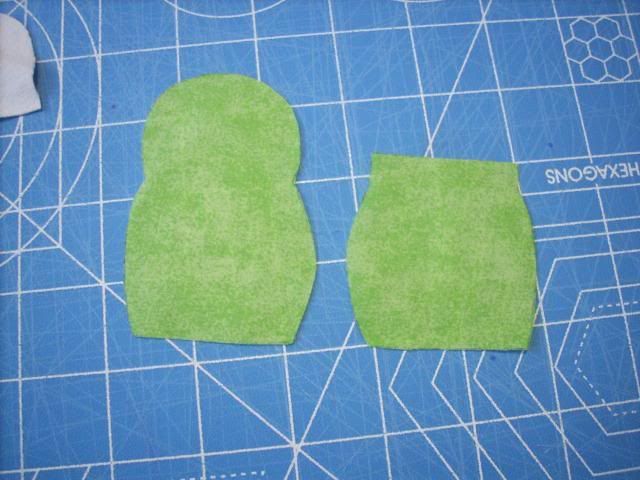


Cut one head piece from the knit fabric and one from the face fabric. Trace hole from the head pattern onto the knit piece.
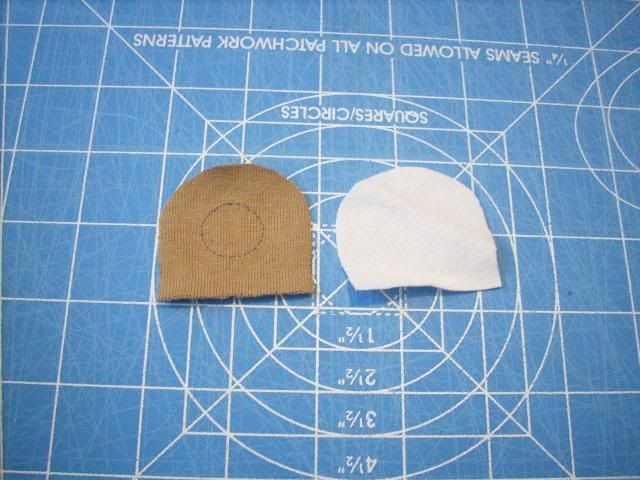


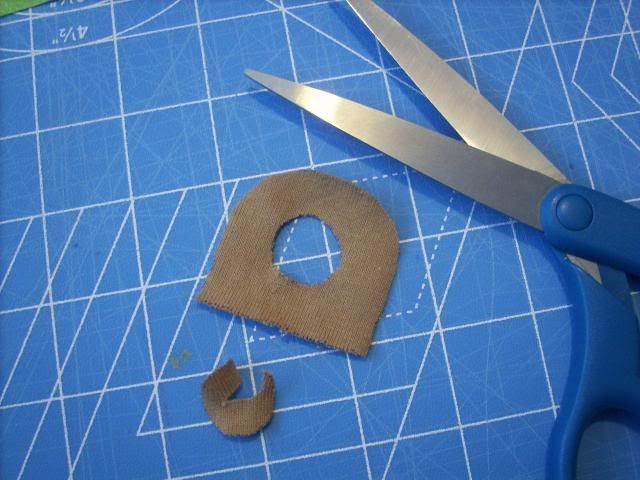
Cut out face hole.


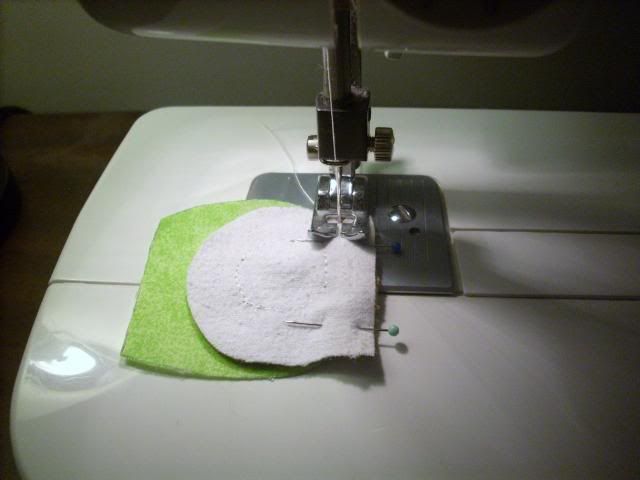
Pin face and kerchief pieces together, with the right side of the face fabric facing the wrong side of the kerchief fabric - you want to see the face through the hole in the kerchief. I don't have the pieces pinned in this picture, but you get the idea.
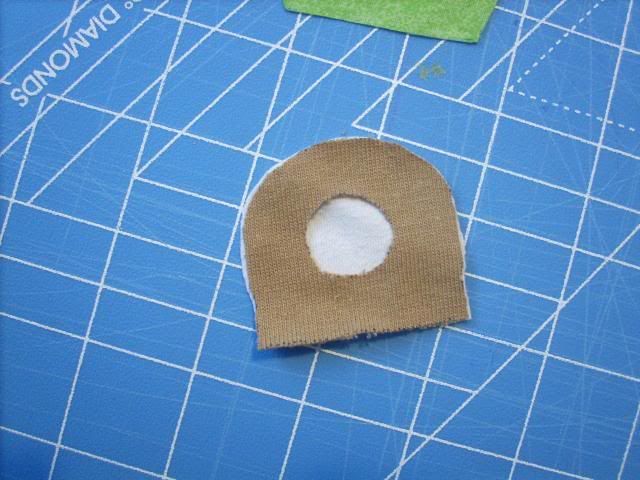


Carefully sew around the face hole.


Draw a cute face onto your doll. I used Sharpie pens, you could paint or embroider it on if you prefer.
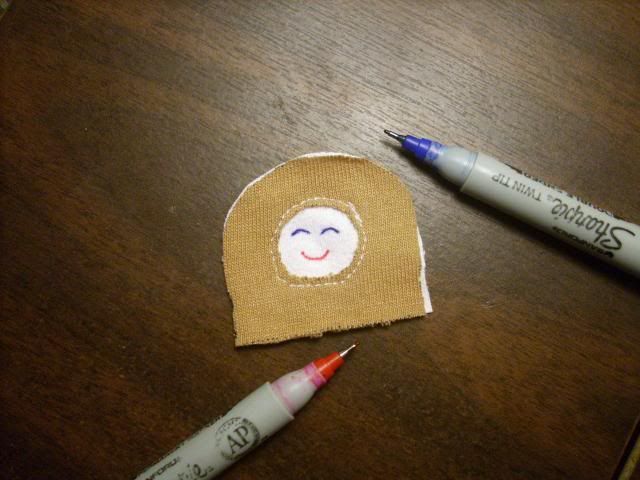


Pin the skirt piece to the head piece right sides together, and sew (1/4 inch seam).
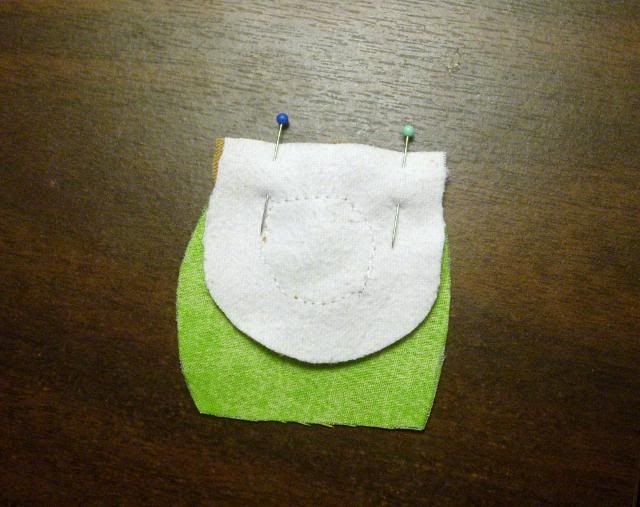


You should now have the complete front of the doll.
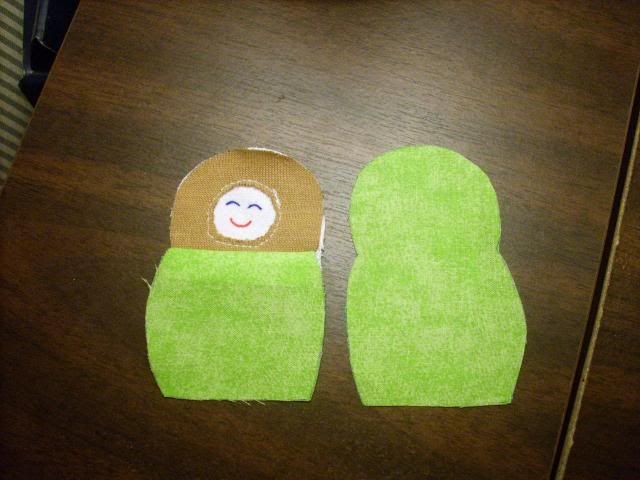


Now put the front and the back of the doll together, right sides together, and sew around the sides and top (1/8 inch seam). Leave the bottom open for turning.
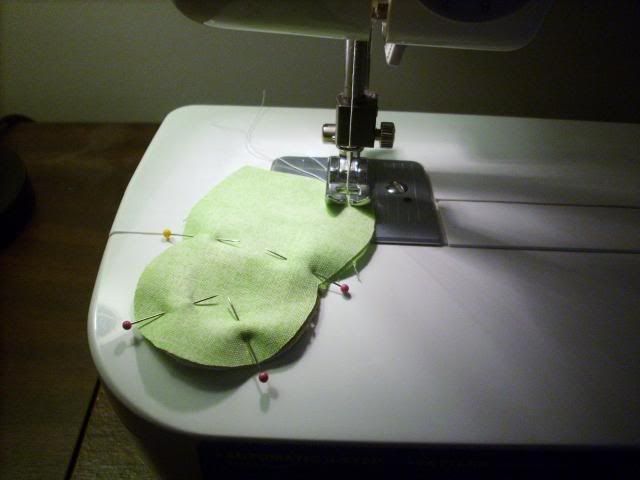


Turn the doll right side out. You can use a pencil or a chopstick to help.
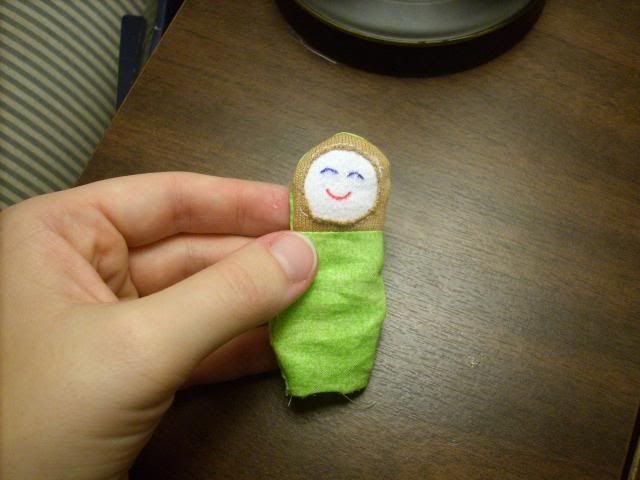


Stuff firmly with poly-fill.
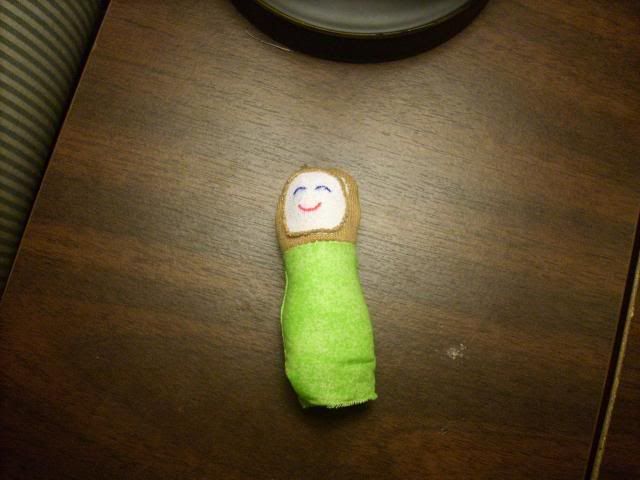


Tuck the bottom edges in, and sew shut. You can hand sew this, or use the sewing machine, depending on how you want it to look.


You're done!

Now some pictures of the dolls and their dollhouse:
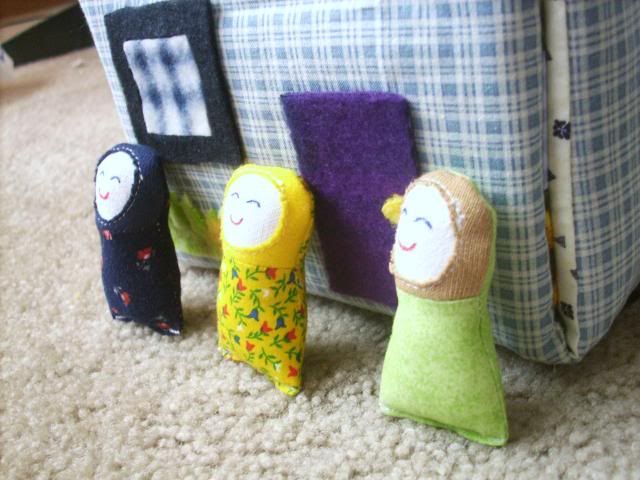


I got a lot of inspiration for decorating my dollhouse from this flickr group. Check out the cuteness!


Friday, December 3, 2010

Audrey's Birthday

I'm a bit late getting this up, but Audrey's first birthday was on Sunday. We didn't have a big celebration or anything, just cake and ice cream and hanging out together as a family. The highlight was watching Audrey enjoy her piece of cake.


She started slowly, but once she got a taste, general carnage and mayhem ensued.


Happy birthday, baby girl!

Audrey Playing Piano

Here's a fun video that Jeff took of Audrey this afternoon. She loves sitting up on the piano bench and banging on the keys.


She also smiles and says "hi" when she sees the camera. How cute is that? It's totally my favorite part of the video. :-)

Tuesday, November 16, 2010

Isis

Today we went to a very special store. We spent quite a lot of time there. When we came home, the kids (as well as Jeff and I) were very excited.


Look at these happy faces!


Just what was the cause of our celebratory mood?

Peek-a-boo!

We adopted a cat! We have been wanting to adopt a cat for quite some time, even before Audrey was born. We decided then that we would wait until she was about a year old before adding a pet to the family. Well, since Audrey's first birthday is in just a couple weeks, we decided it was about time.

We went to PetSmart this evening. We originally intended to get all the stuff we needed for a cat, then go to the humane society tomorrow to pick out a cat. But when we got there, CAWS (an animal rescue program) had several cats available for adoption right there in the store. We oohed and aahed over several beautiful and friendly cats. Then we ended up falling in love with a lovely young cat named Isis. So not only did we come home with all the necessary cat stuff (litter box, food, etc.), we came home with a beautiful cat.


She is 2 years old, and was just rescued from a local animal shelter. She was on their list to be euthanized, but the staff was so taken with her that they asked CAWS to take her. And we're so glad that she was rescued, because now we get to have her as part of our family!


Isis is very sweet, and LOVES to be petted. She's still a little shy and unsure, but has spent the evening exploring the house and getting to know us better. We're excited to have her as part of our family.

Monday, November 8, 2010

Another Project

Whew, I'm keeping busy! At this rate, I'll be ready for Christmas by the end of November!

Today I made a pillow buddy for Thomas (tutorial part 1, part 2). Using a super soft and fluffy blanket, I made a cuddly, floppy-eared puppy.


Using what I learned from making Zaylee's pillow buddy, and what I learned from making the pink mouse, I added some minimal shaping on the face. A few strategically placed darts make the face a little more rounded rather than flat.

Now I get to keep it hidden in the closet until Christmas. Maybe by that time we'll have actually finished building Thomas' bed so he has a place to put this cute little puppy.

Being Creative (lots of fun projects)

I've been having a fun time the past few days being creative and making things. I think I'm at my happiest when I'm working with my hands, making fun and/or beautiful things.

Here's a cute little blue puppy, Blue from "Blue's Clues." She started as a simple stuffed animal. Since no one in the family had any particular emotional attachment to this particular toy, I figured she qualified for stuffed animal surgery.


I cut a hole in the back, pulled out most of the stuffing (leaving all the stuffing in the head so it wouldn't flop around) and voila - a new puppet! I can put my fingers in the legs and the neck to move it around. The kids really love having a puppet around!


I've been wanting to learn how to make stuffed animals (mostly so I can use that knowledge to make more puppets). I started with a simple pattern for a stuffed mouse. Zaylee has named it Pinky.


I'll be making more stuffed animals, experimenting with different patterns and materials, and eventually hope to be able to draft my own stuffed animal and puppet patterns.


Another fun thing I've made is this rag letter alphabet, based on this tutorial. I was able to use up lots of scrap flannel. The kids like playing with the letters, and Zaylee has been using them to practice spelling. I need to make doubles of some of the letters, so they can write words that have more than one of the same letter.


I'm going to be making the kids some warm winter clothes for Christmas, and on Saturday I started with a cute little shirt for Zaylee. I made a simple pattern using this tutorial, then used that pattern to make a shirt with lettuce edging on the collar and the sleeves.


And then there's this cute little amigurumi-style kokeshi doll that I made using this pattern. How adorable is this?


Amigurumi is a Japanese style of making stuffed knit or crochet toys or figures. And kokeshi dolls are a traditional Japanese doll, usually characterized by a large head, minimal facial features, and the lack of arms or legs. I have a traditional wooden kokeshi doll that I bought when we lived in Japan, and I think they're just so beautiful. So it was fun to find a crochet pattern for this pretty and unique style of doll.